In recent years, nail art has gained popularity as a fashion and transforming your own home into the nearest nail salon isn’t that difficult. According to Mr. Khoan Quang Vinh, it’s a creative and enjoyable method to express yourself and give your appearance some personality and using Maby is such a good choice. Maby.us supports you in finding the best nail designs and your favorite nail artists. You can make gorgeous designs at home with just a few basic tools and Maby guidance. We’ll discuss some simple DIY nail art designs in this article that you may try out for yourself.
Equipment you’ll need
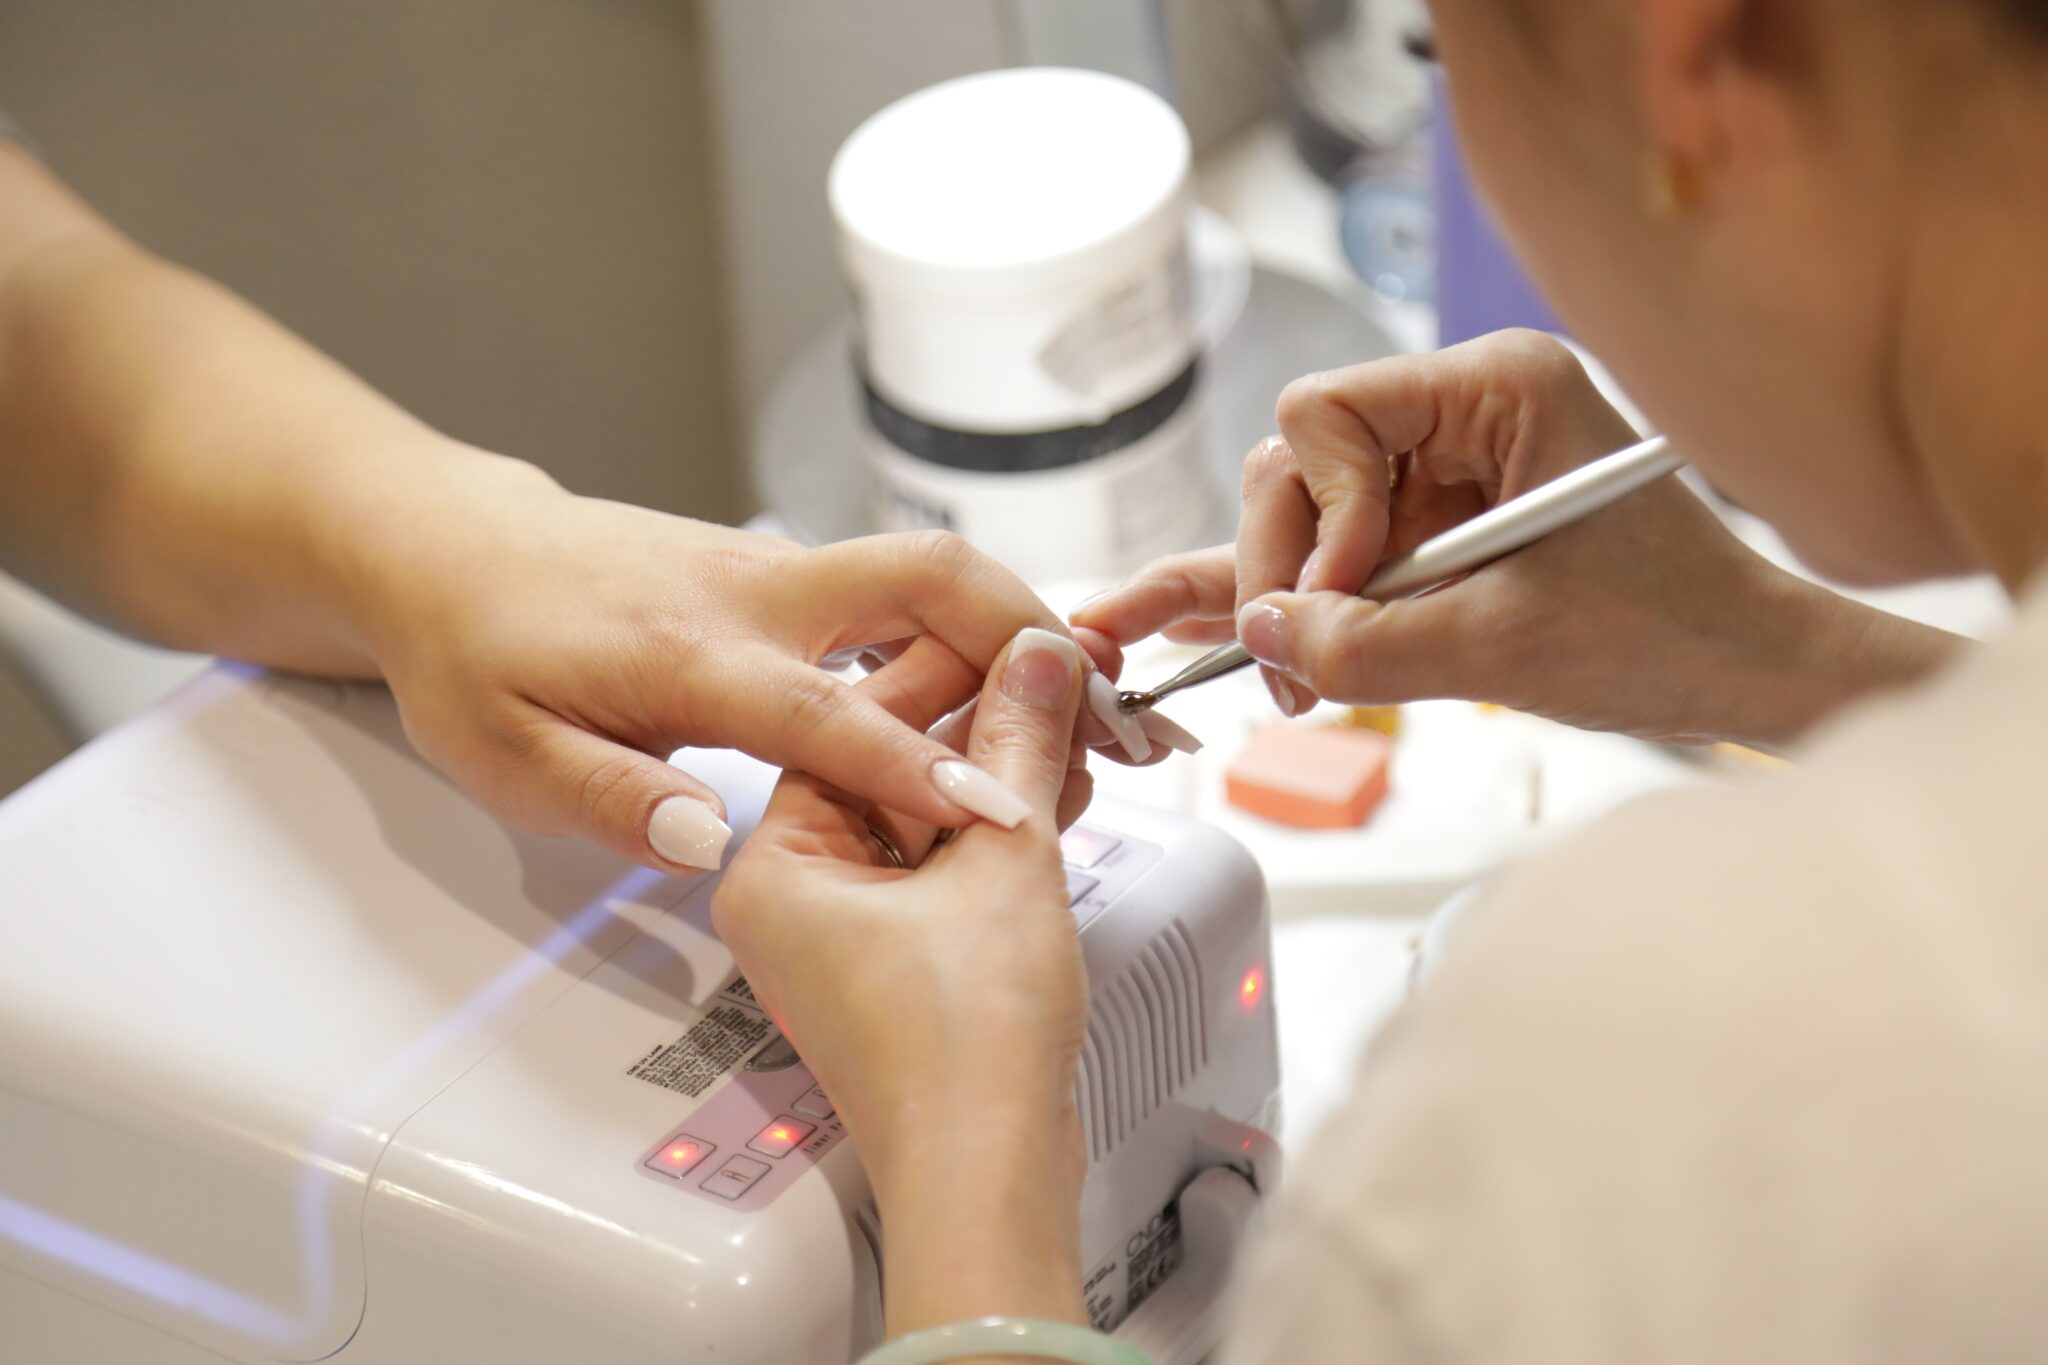
Let’s go over the supplies you’ll need for DIY nail art before we begin:
– Base and top coats: A base coat will improve the adhesion and durability of your nail paint. Your nail art will be protected and shined up with a top coat.
– Nail polish: For the majority of the designs we’ll cover, you’ll need at least two colors. Ensure the polish has a smooth finish and is of high quality.
– A dotting tool is necessary for making dots and other little designs. Instead, if you don’t have a dotting tool, you can use a toothpick or bobby pin.
– Striping tape: Use this thin tape to draw straight lines and other patterns.
– Nail stickers: If you lack confidence in your ability to do nail art, nail stickers can be a fantastic substitute. They are simple to apply and have a range of designs.
– Nail polish remover: You’ll need this to fix any errors you make.
Let’s get started on some simple DIY manicure art ideas now that you have your materials!
First layout: polka dots
Anyone may create the timeless and simple design of polka dots. This is how:
A base coat should be applied to your nails. Choose two nail paint shades. For the base and the dots, we advise using a lighter color.
– After the base coat has dried, make dots on your nails by dipping the dotting tool into the darker color. You can make however many or few dots you want.
– Apply a top coat after allowing the dots to dry completely.
Style 2: Stripes
Another traditional pattern that is simple to create with striping tape is stripes. This is how:
– Coat the base of your nails.
– After the base coat has dried, decorate your nails with striping tape in the desired pattern.
– Over the tape, apply a different shade of nail polish.
– Carefully remove the tape to reveal the stripes after the second color has dried.
– Use a top coat to shield the artwork.
3rd design: Ombre
On nails, ombre is a gradient effect that looks fantastic. How to get this result is as follows:
– Coat the base of your nails.
– Pick two nail polish hues that go well together. We advise using both a lighter and a darker color.
– Fill in the lower portion of your nail with the lighter color.
– Paint the top half of your nail with the darker shade.
– In the center, combine the two colors using a makeup sponge.
– Before adding a top coat, allow the polish to completely dry.
Pattern 4: Floral
For spring and summer, floral patterns are ideal. Here’s how to make a basic floral arrangement:
– Coat the base of your nails.
– Select two nail polish hues. For the base and the flowers, we advise using lighter and darker hues, respectively.
– Use the dotting tool to make tiny dots in a circle to form the flower’s center after the base coat has dried.
– After that, circle the central dot with petals using the dotting tool. The number of petals you create is entirely up to you.
– To add tiny finishing touches to the flowers, like dots or lines, use a toothpick or small brush.
– Apply a top coat to protect the design after allowing the polish to dry completely.
French manicure with a modern twist, design no.
The French manicure is an age-old style that is always in vogue. Especially at 50th & France, Maby recommends many nail artists with exclusive and trending nail designs. Here’s how to change it up according to French nail artists:
– Coat the base of your nails.
– Select two nail polish hues. For the base, we advise a neutral or light pink, and for the tips, a darker shade.
– Use striping tape to draw a straight line across your nails after the base coat has dried, leaving the tips unadorned.
– Apply the darker color to your nails’ tips.
– Carefully remove the tape to reveal the straight line after the second color has dried.
– Put on a top coat to shield the artwork.
Conclusion
You can create a variety of designs and styles to suit your preferences if you put some practice and patience into it. Always use top-notch nail polish and equipment, and let your nails completely dry in between each step. You can quickly create beautiful nail art using these tricks and tips. Furthermore, you can convert your home into a “nail salon near me” by attempting some of these basic DIY nail art designs
